This is Photoshop's version of Lorem Ipsn gravida nibh vel velit auctor aliquet.Aenean sollicitudin, lorem quis bibendum auci elit consequat ipsutis sem nibh id elit. quis bibendum auci elit.

Instagram feed

+ 01145928421 SUPPORT@ELATED-THEMES.COM

diy tips Tag

HomePosts tagged "diy tips"

There comes a certain point where your home starts to feel bland, and a change is needed. You might think that a complete renovation is needed, but all you need is to repaint! Here's a guide from your favourite Painters and Decorators in North London for interior painting.   It may be tempting to buy cheaper brands of paint, but it can work out being more expensive in time, money and effort than buying a quality brand, and making sure the surfaces are sealed. Poor quality paints won't  cover as well so you'll need more - that's why they are often in such large cans - and you may have to paint an extra coat or two to get a sufficient finish. Make sure you're stocked up on paint in the same colour and finish to complete the job. Paints are made in batches and there may be  slight

Kitchen and bathroom renovations often offer the highest rate of return in the home, but you don’t need a total overhaul to make these rooms look more attractive. Old plumbing fixtures can make a room feel dated. By merely replacing faucets and knobs you can make the kitchen feel more modern for the cost of a few hundred dollars. Of course, you can replace more than just the plumbing fixtures. Door knobs, light switch plates, wall outlet covers and light fixtures can also be updated to give your home a fresh look. If your home is on the smaller side, you’ll want to improve your storage options to make the place feel more spacious. To start with, if you haven’t moved out yet, don’t let your own clutter make the place feel cramped. House hunters will want to see what their storage options are before they

When it comes to home improvement, painting is one of easiest and inexpensive ways to dramatically change the look of a room. Yet, there are many factors that can influence how your project will turn out. When reviewing a contract for painting, it should include the following things; - How much the job is going to be - How many coats of paint it will include - What type of prep work will be done - What type of products will be used The reason why you may have someone that's great at painting and they can make a wall look great, but if the under laying surface hasn't been prepped you may see imperfections, there may be problems with the adhesion's. Certain things not addressed prior to painting make a really good paint job not last and it could also make a paint job look really shoddy. A lot of times people

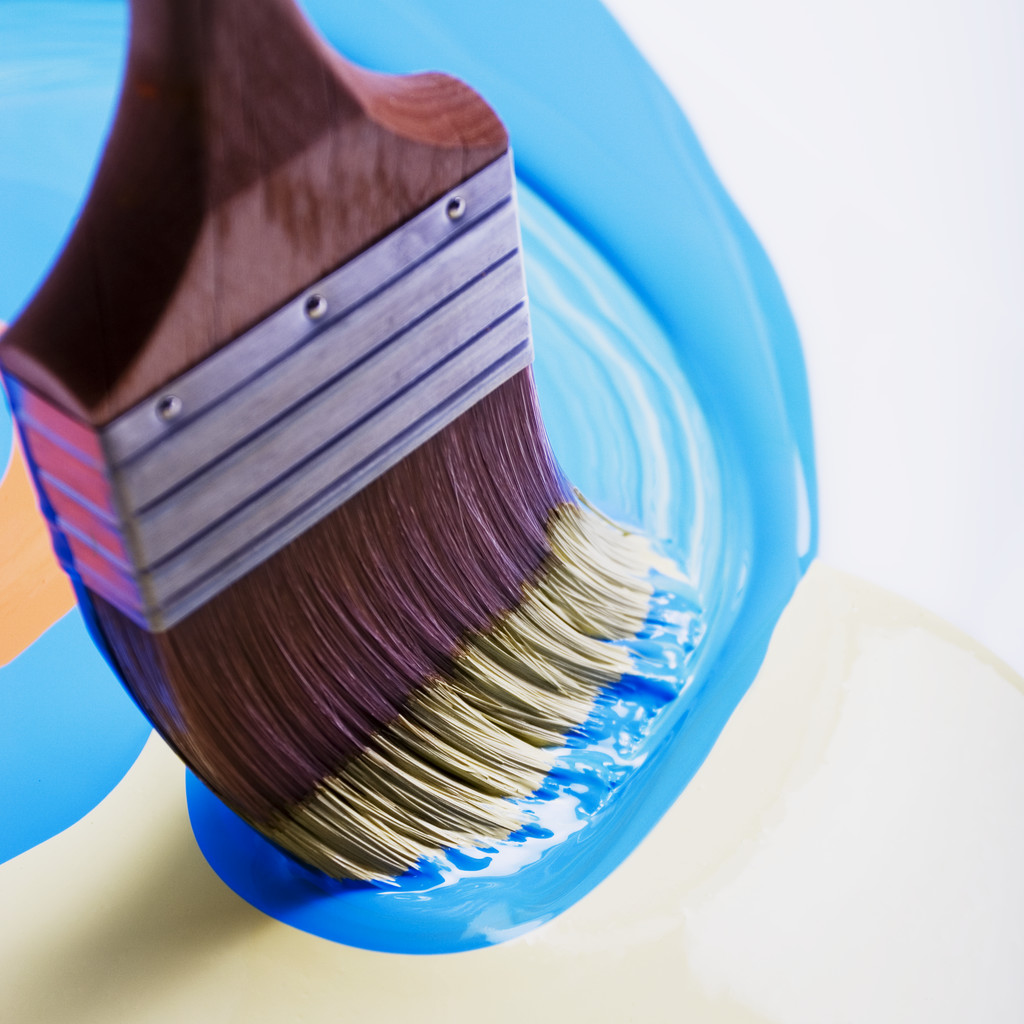
To get the job done right, you need good quality tools. It doesn't make sense that people are willing to spend £50 on 5L of premium paint but decide to go cheap on the applicators. Later, when they see a hair on the wall or lumps of roller lint under the paint, they'll realize the mistake. Investing in good brushes or rollers up front is worth the extra pennies. It may seem obvious, but you always want to do repair work first so that your walls are smooth, clean, dry and free of loose debris before you begin painting. DIYers often continue applying a dip of paint until the brush or roller becomes dry. When you overextend each dip, the paint can dry in the brush bristles, and the fabric on rollers can mat down. Be sure to always maintain a smooth line of paint. Once the

To keep your home’s exterior looking its best—and prolong its life—experts recommend painting every five years or so. Preparing the Exterior Surface for Painting Here’s the step-by-step process for proper surface preparation which gives you the best results and a longer lasting paint job. 1. Power Wash The Surface A power washer is the best way to eliminate dirt and peeling/flaking paint from most types of siding. (Do not power wash stucco since it can destroy the surface in seconds.) Keep the spray wand at least 12 in. from the siding to prevent surface gouging. Don’t spray up under the siding flaps. Don’t use it to clean windows: it will break the glass. Always wear eye protection; never spray on a windy day. For the cleanest surface, use a good cleaning agent with the power washer, such as TSP or an all-purpose cleaner. Once the cleaning agent has been

Giving your home a fresh coat of paint is one of the fastest and most cost-effective ways to revamp your space and get a whole new look. That is unless you're doing it all wrong. But, a quality paint job is easy to achieve -- when you prepare the surface correctly and use the right tools and products. We've rounded up the most common painting mistakes that you may be making as well as simple fixes to get your projects done right. 1. Pulling painter's tape up after the paint dries. It's best to rip it off right after you apply, otherwise the dried latex may come up with the adhesive. 2. You scrub your bushes at the end of each day. If you haven't completed your project, you can wrap them in plastic wrap and secure them with a rubber band. The bristles will stay moist and ready to go. 3. You

Painting is a home improvement project that seems made for Autumn. A fresh coat of paint or a new colour scheme around the house can give a home an entirely new look and feel. But paint can be pungent and the aromas may last if it’s applied at a time of year when it can’t dry while the windows are wide open. Paint fumes inside a home can make the home uninhabitable, but painting at a time of year like the Autumn, when you can keep the windows open during and after the project, can help air the home out. But interior painting isn't the only painting project homeowners can tackle in the fall. Many exterior paints are temperature-sensitive and need the temperature outside to be above 5C. Paint that freezes won't dry properly, and homeowners might be left with a costly and unsightly mistake on their

Most people look online and in the papers for potential new home, so the pictures and the price are a real eye catcher. The right colour of paint can bring in the buyers! Rumour has it that we are supposed to use neutral colours, but does anyone know why? They sit in the background and do not get noticed, making your house invisible to the potential buyers. If you have trouble selecting a suitable but out-of-the-box colour, you could always ask a professional painter and decorator to help you choose. Absolute Decorating are always happy to help you pick and choose what you need to spruce up any home. We complete work in the Enfield and surrounding areas. Manufacturers have ready made pallets for you to choose from. If you live in an area that regularly sees sunshine, aim for the brighter colours so your house can shine

There are many factors that go into making your home more appealing, which is especially important if you’re trying to sell it. Most people selling a home need to make some changes to the interior in order to increase the value of the property. That usually involves fixing up the kitchen and bathrooms with fixtures and fittings, important rooms buyers always look at, as well as adding a fresh coat of paint here or there to spruce up the room. What many sellers don't realize is that buyers will often make a decision on a property before even setting foot inside a house, which is why curb appeal is so important.   Fresh coat of paint One way to increase the appeal of your home, and add value in the process, is to use exterior paint in a way that makes your house look a few years younger.

Whether the paint is peeling or you just want to change your home’s look, a fresh coat of paint can make a dramatic difference. Colour can be used to create a mood and evoke an emotional response. Certain colours can energize – think red, orange and yellow – while others can be calming – blues, greens and purples. Neutral colours like white convey simplicity and cleanliness. But before the first brush is dipped into the paint can, make sure to prep the surfaces. On the exterior, peeling or chipped paint needs to be scraped away and bare wood needs to be primed. Inside, walls need to be cleaned and trim taped off. PREPARE THE SURFACE BEFORE PAINTING Take time to caulk all joints, cracks and seams in the surface before painting. Before painting windows, check around the window panes for loose or missing putty. Replace the putty in these areas